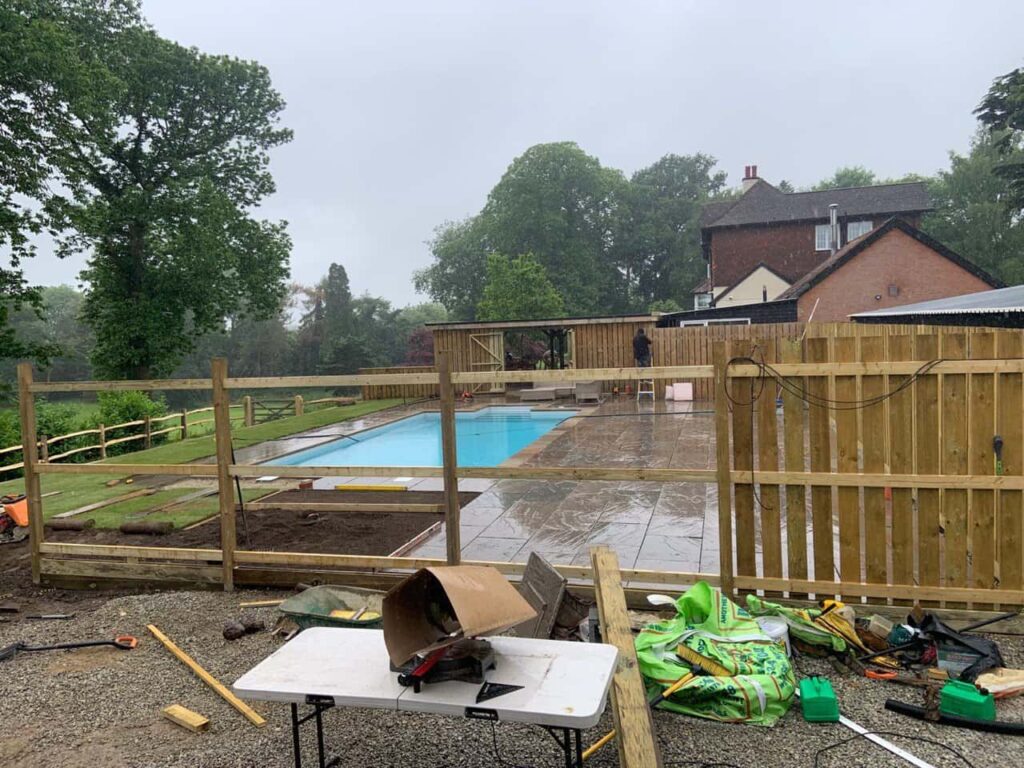
Building a Wood Fence Panel Retaining Wall
Introduction: Retaining walls is essential for controlling erosion, creating level areas, and enhancing the aesthetics of your landscape. While various materials are available for retaining walls, wood fence panels offer a versatile and visually appealing option. In this blog post, Fast Fix Fencing, Swanley explores the process of building a wood fence panel retaining wall, combining functionality with natural charm.
1. Planning and Preparation
Careful planning is essential before you start building your wood fence panel retaining wall. Here are some key considerations:
- Permitting: Check local building codes and regulations to determine if you need a permit for your retaining wall project.
- Site Evaluation: Assess the area where you plan to build the retaining wall. Consider the slope, drainage, and the type of soil present.
- Materials: Choose quality wood fence panels and pressure-treated lumber for the posts and frame. Pressure-treated wood is resistant to rot and decay, making it suitable for outdoor use.
2. Marking and Layout
Use stakes and string to mark the layout of your retaining wall. Ensure that the wall follows the slope’s contours and allows proper drainage. Take into account any curves or angles in your design.
3. Excavation
Excavate the area where the retaining wall will be installed. The excavation depth will depend on the height and purpose of the wall. In general, a deeper trench provides more stability for taller walls. Make sure the trench is level and well-compacted.
4. Install the Posts
Install the wooden fence panel posts at regular intervals along the trench. These posts will serve as the support structure for your retaining wall. Ensure the posts are plumb and securely anchored in the ground with concrete.
5. Frame the Wall
Attach horizontal wooden beams to the posts to frame the retaining wall. These beams provide the structure for attaching the wood fence panels. Ensure that the frame is level and securely fastened.
6. Attach the Wood Fence Panels
Once the frame is in place, attach the wood fence panels to the frame using screws or nails. Make sure the panels are level and flush with the frame. The wood fence panels provide the aesthetic appeal and visual barrier for your retaining wall.
7. Backfill and Drainage
Backfill the area behind the retaining wall with gravel or drainage material. This helps with water drainage and prevents excess pressure on the wall. Use landscaping fabric to separate the soil from the drainage material.
8. Finishing Touches
After the wall is complete, consider finishing touches such as staining or painting the wood fence panels to enhance their appearance and protect them from the elements. You can also add capstones to the top of the wall for a polished look.
Maintenance and Care
Regular maintenance is essential to ensure the longevity of your wood fence panel retaining wall. Inspect the wall for any signs of damage, such as rot or warping, and address them promptly. Keep the area behind the wall well-drained to prevent water pressure from building up.
Conclusion: Building a wood fence panel retaining wall can be a rewarding project that combines functionality with aesthetic appeal. By carefully planning, preparing, and following the proper installation steps, you can create a retaining wall that serves its intended purpose and adds natural charm to your landscape. Fast Fix Fencing Swanley is here to assist you in designing and constructing a wood fence panel retaining wall that enhances the beauty and functionality of your outdoor space.
Call us on: 01322 952 295
Click here to find out more about Fast Fix Fencing Swanley
Click here to complete our contact form and see how we can help with your fencing needs.

